Webhooks 接入——通用事件入口
Hermes 消息平台接入第12篇:Webhooks。任何系统都能给 Hermes 发消息。
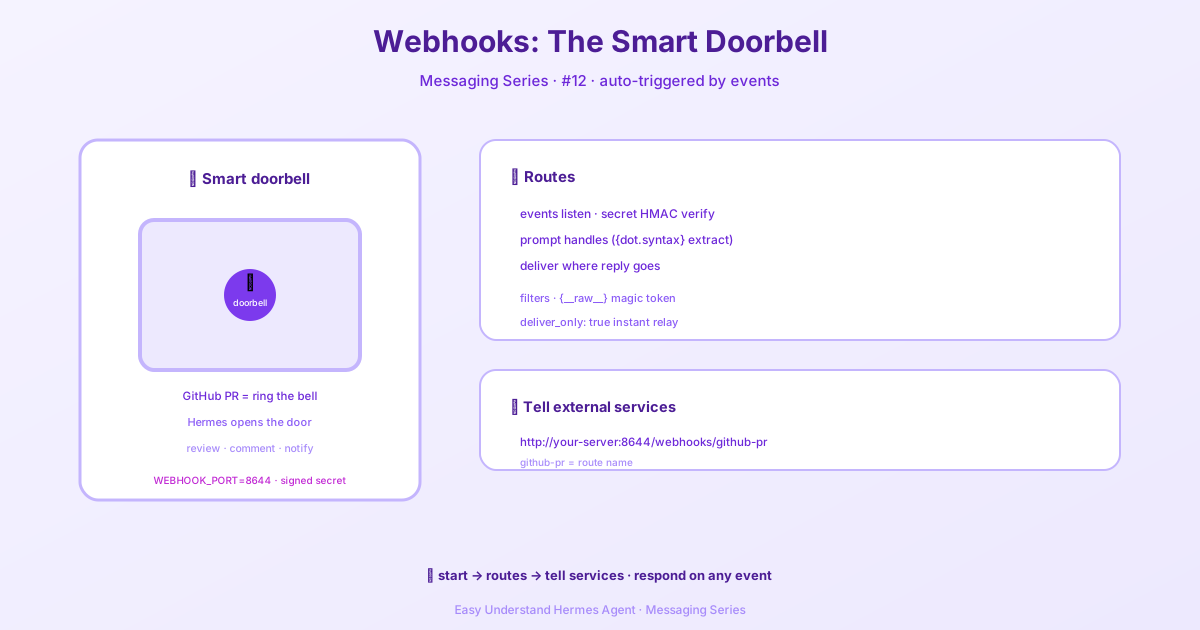
Webhooks 接入——通用事件入口
嘿,朋友們!今天咱們來聊聊 Hermes Agent 的 Webhooks 接入——這是個萬能入口,讓 GitHub、GitLab、JIRA、Stripe 這些外部服務直接「喊」你的 Agent 幹活。想像一下:有人提了個 PR,你的 Agent 自動去 review 並留言;程式碼推送到 main 分支,它自動發個 Telegram 通知。是不是很爽?
快速上手
啟用 Webhooks 有兩種方式:
方式一:互動式精靈
hermes gateway setup跟著提示走,啟用 webhooks、設定連接埠和全域 HMAC 金鑰就行。
方式二:環境變數
在 ~/.hermes/.env 裡加上:
WEBHOOK_ENABLED=true
WEBHOOK_PORT=8644        # 預設連接埠
WEBHOOK_SECRET=your-global-secret
啟動後驗證一下:
curl http://localhost:8644/health看到 {"status": "ok", "platform": "webhook"} 就說明跑起來了。
設定路由
路由就是告訴 Agent「哪種事件該怎麼處理」。在 config.yaml 的 platforms.webhook.extra.routes 下定義:
platforms:
  webhook:
    enabled: true
    extra:
      port: 8644
      secret: "global-fallback-secret"
      routes:
        github-pr:
          events: ["pull_request"]
          secret: "github-webhook-secret"
          prompt: |
            Review this pull request:
            Repository: {repository.full_name}
            PR #{number}: {pull_request.title}
            Author: {pull_request.user.login}
            URL: {pull_request.html_url}
            Action: {action}
          skills: ["github-code-review"]
          deliver: "github_comment"
          deliver_extra:
            repo: "{repository.full_name}"
            pr_number: "{number}"
幾個關鍵點:
events:要監聽的事件類型,不填就全收secret:HMAC 簽章金鑰,不設就用全域的。測試時可以設"INSECURE_NO_AUTH"跳過驗證(僅限測試!)prompt:範本字串,用{點.語法}存取 payload 欄位。不填就把整個 JSON 丟給 Agentdeliver:回應送到哪,支援github_comment、telegram、discord、slack等一大堆平台filters:宣告式過濾器,不匹配的請求直接回傳{"status":"ignored","reason":"filter"},不打擾 Agent
新特性:直接投遞模式
有個超省錢的玩法——deliver_only: true。開啟後完全跳過 Agent,直接把渲染好的 prompt 範本作為訊息發出去。零 LLM 成本,亞秒級回應。適合那些不需要動腦筋的通知情境。
安全提醒
⚠️ 認證過 ≠ 可信。Webhook payload 裡的欄位都是外部傳入的,別盲目信任。prompt 範本裡引用的資料要當心注入風險。
動態訂閱
除了手改設定檔,還能用指令動態建立路由:
hermes webhook subscribe不過注意,透過指令建立的路由不能設定 toolsets,防止 Agent 自己給自己偷偷加權限。
設定好後,把外部服務指向 http://your-server:8644/webhooks/<route-name> 就完事了。GitHub 上設個 Webhook,PR 一來,你的 Agent 就開始幹活了!
📖 官方文档
本文根据 Hermes Agent 官方文档编写,原文见:官方文档 › user-guide/messaging/webhooks