Run Local LLMs on Mac
Run Local LLMs on Mac — easy-to-understand guide based on official docs
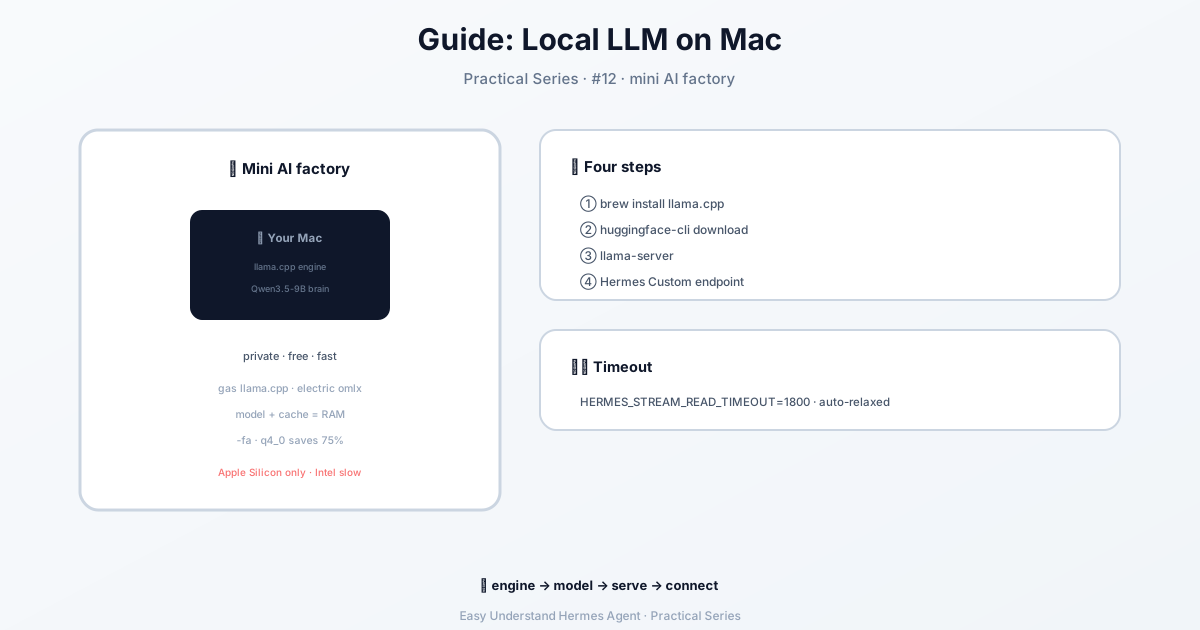
Run Local LLMs on Mac
So you’ve got Hermes Agent running on your Mac, and you’re ready to dive into the world of local LLMs. Great choice! But before you start chatting away, you need to understand how Hermes handles models. Think of it like setting up a kitchen: you’ve got your main chef, and then you’ve got a bunch of specialized helpers for specific tasks.
The Two Types of Model Slots
Hermes uses two kinds of model slots:
- Main model — this is your head chef. Every user message, every tool-call loop, every streamed response goes through this model. It’s the brain of the operation.
- Auxiliary models — these are your sous-chefs. They handle smaller side-jobs like context compression, vision (image analysis), web-page summarization, approval scoring, MCP tool routing, session-title generation, and skill search. Each has its own slot and can be overridden independently.
Getting Started: The Fastest Path
If you’re new to Hermes, the quickest way to get models configured is through the Nous Portal. It gives you access to 300+ models under one subscription. On a fresh install, just run:
hermes setup --portalThis logs you in and sets Nous as your provider in one command. You can check what’s wired up with hermes portal info. Plus, portal subscribers get 10% off token-billed providers. Not bad, right?
The Models Page
Open the dashboard and click Models in the sidebar. You’ll see two sections:
- Model Settings — the top panel where you assign models to slots.
- Usage analytics — ranked cards showing every model that ran a session, with token counts, cost, and capability badges.
The top card is the Model Settings panel. The main row shows what the agent will spin up for new sessions. Click Change to open the picker.
Setting the Main Model
The picker has two columns:
- Left — authenticated providers. Only providers you’ve set up (API key set, OAuth’d, or defined as a custom endpoint) show up here. If a provider is missing, head to Keys and add its credential.
- Right — the curated model list for the selected provider. These are the agentic models Hermes recommends, not the raw
/modelsdump (which on OpenRouter includes 400+ models including TTS, image generators, and rerankers).
Type in the filter box to narrow by provider name, slug, or model ID. Pick a model, hit Switch, and Hermes writes it to ~/.hermes/config.yaml. This applies to new sessions only — any chat tab you already have open keeps running whatever model it started with. To hot-swap the current chat, use the /model slash command inside it.
Mid-Session Switches: A Word of Caution
When you switch models inside an active session, Hermes estimates whether your next message will run preflight context compression against the new model’s window. If the session is already near or above that model’s compression threshold, you’ll get a warning. The switch still applies immediately, but compression runs on the first user message after the switch.
Important: Mid-session switches reset the prompt cache. Prompt caches are keyed to the model serving the request, so any mid-conversation model change means the next message re-reads the entire conversation at full input-token price instead of the cached (~75–90% discounted) rate. On a long session, this one-time re-read can dwarf the per-token difference between the two models. Switch when you need to, but prefer doing it early in a conversation.
Unattended Data-Training Tiers
Some models like muse-spark-1.2-contributor are discounted because the vendor may train on your prompts and completions. Interactive model selection always shows a confirmation prompt. But non-interactive startup paths (like Kanban workers and cron agents) fail closed because they can’t ask that question.
If training on the unattended workload’s data is acceptable, record a persistent acknowledgement:
hermes config set security.allow_data_training_tiers_noninteractive trueHermes still prints the full data-policy warning on every unattended startup, so worker logs retain an audit trail. Revoke it with:
hermes config unset security.allow_data_training_tiers_noninteractiveSetting Auxiliary Models
Click Show auxiliary to reveal the 11 task slots. Every auxiliary task defaults to auto — meaning Hermes tries your main model for that job too. If that route is unavailable, auto follows any task-specific fallback chain, then the main fallback chain, then Hermes’ built-in auxiliary discovery chain. Override a specific task when you want a cheaper or faster model for a side-job.
A Note on the model: Schema
On a brand-new install, the bundled default config has model: "" (an empty string sentinel meaning “not configured yet”). The first time you run hermes setup or hermes model, that key is upgraded in-place to a mapping with provider, default, base_url, and api_mode sub-keys. If you ever see an empty string in config.yaml, run hermes model (or click Change in the dashboard) and Hermes will write the dict form for you.
That’s it! You’re now ready to configure models like a pro. Happy chatting!
📖 Official Docs
This article is based on the official Hermes Agent documentation:Official docs › guides/local-llm-on-mac