Honcho Memory — Cloud Memory Backend
Honcho Memory — Cloud Memory Backend — easy-to-understand guide based on official docs
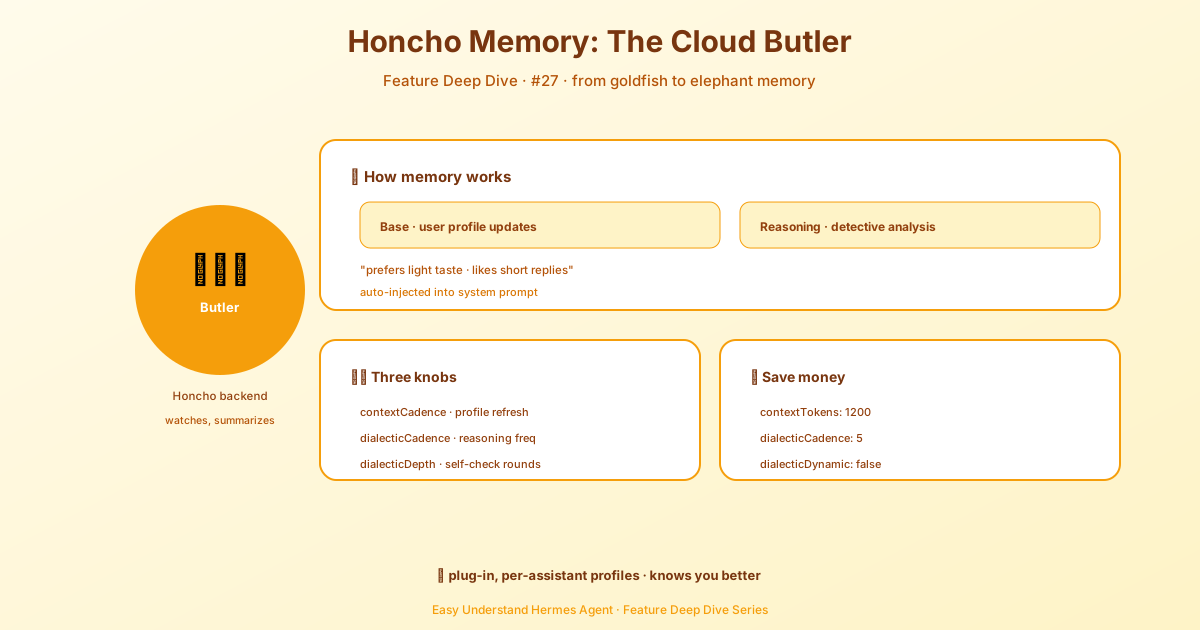
Honcho Memory — Cloud Memory Backend
If you have been following this series, you already know that Hermes Agent is all about giving you a smarter, more personal assistant. But here is the thing: for an assistant to feel truly personal, it needs to remember. Not just your last message, but your preferences, your projects, and the context of your ongoing work. That is where Honcho Memory comes in.
Think of Honcho as the long-term memory for your AI agents. Instead of starting from zero every time you open a chat, Hermes can tap into a cloud-based memory backend to recall who you are and what you have been working on. This makes every interaction feel more continuous and less robotic.
Why You Need a Memory Backend
Without memory, every conversation with an AI is a fresh start. You have to repeat your context, re-explain your goals, and remind the agent of decisions you already made. That is tedious.
With Honcho Memory, Hermes can:
- Remember your preferences across sessions, like your preferred coding style or communication tone.
- Maintain context on long-running projects, so you can pick up right where you left off.
- Provide personalized responses based on your history, making the assistant feel more like a teammate and less like a search engine.
Getting Started with Honcho
The good news is that setting up Honcho is straightforward. It is designed to be a plug-and-play backend, so you do not need to manage a database or worry about infrastructure.
First, make sure you have the latest version of Hermes installed. Then run the setup wizard and pick Honcho from the provider list:
hermes memory setup # select "honcho" from the provider listOr configure it manually. The key step is adding your Honcho API credentials to your ~/.hermes/.env file.
HONCHO_API_KEY=your_api_key_here
HONCHO_BASE_URL=https://api.honcho.dev
You can grab an API key at honcho.dev. Once that is in place, Hermes will automatically start using Honcho for memory storage and retrieval. You do not need to change your normal workflow. Just talk to Hermes like you usually do, and it will handle the rest behind the scenes.
If you point Hermes at a self-hosted Honcho server, the setup wizard also asks for a local JWT or bearer token after the base URL. Paste a token signed with the server’s AUTH_JWT_SECRET to enable authenticated access, or leave it blank for servers running with AUTH_USE_AUTH=false. Your local token is stored separately from any cloud key, so you can switch back to cloud later without losing either credential.
How to Use It in Practice
Using Honcho is not about learning new commands. It is about changing how you interact with Hermes. Here are a few practical ways to get the most out of it:
- Start a project and come back later. Tell Hermes about a new project, work on it for a bit, and then close the terminal. The next day, you can ask, “What were we working on yesterday?” and Hermes will recall the details.
- Set preferences once. Tell Hermes, “Always use Python for code examples,” or “I prefer concise answers.” Honcho will store these preferences and apply them in future sessions.
- Use it for brainstorming. Dictate half-formed ideas to Hermes. Because it remembers your past thoughts, it can help you connect the dots and structure your ideas more effectively.
A Simple Configuration Example
If you want to fine-tune how Hermes uses memory, you can adjust the configuration in your config.yaml file. Here is a basic setup to get you started:
memory:
  provider: "honcho"
  honcho:
    namespace: "default"
    ttl: 604800  # optional: time-to-live for memories in seconds
The namespace field lets you separate memories for different projects or contexts. The ttl field is optional and controls how long memories are kept before they expire.
A couple of extra knobs are worth knowing about. initOnSessionStart (default false) only matters in tools mode: setting it to true creates the Honcho session synchronously at startup so your first tool call never races a half-initialized session. That guarantee means startup waits on Honcho, so if the server is unreachable the agent can hang until each call hits its limit — on Desktop this shows up as request timed out: session.resume or prompt.submit. Keep it false on Desktop and for local servers that may not be running, and set timeout (in seconds) in honcho.json to bound each call if you do enable it.
The Bottom Line
Honcho Memory transforms Hermes from a stateless tool into a persistent assistant. It is one of those features that feels magical once you get used to it. You stop repeating yourself, and the agent starts to feel like it actually knows you.
Whether you are a developer managing multiple projects or a power user who wants a more personal assistant, Honcho is the backend that makes it all possible. Give it a try, and see how much smoother your workflow becomes when your agent remembers everything.
📖 Official Docs
This article is based on the official Hermes Agent documentation:Official docs › user-guide/features/honcho