Tutorial 3: Learning Path — Your Roadmap to Mastery
Tutorial 3: Learning Path — Your Roadmap to Mastery — easy-to-understand guide based on official docs
Think of Hermes Agent like a Swiss Army knife — it can do a hundred different things, but you don’t need to learn them all at once. This learning path is like a map that shows you the shortest route from “I just installed it” to “I’m building my own custom tools.”
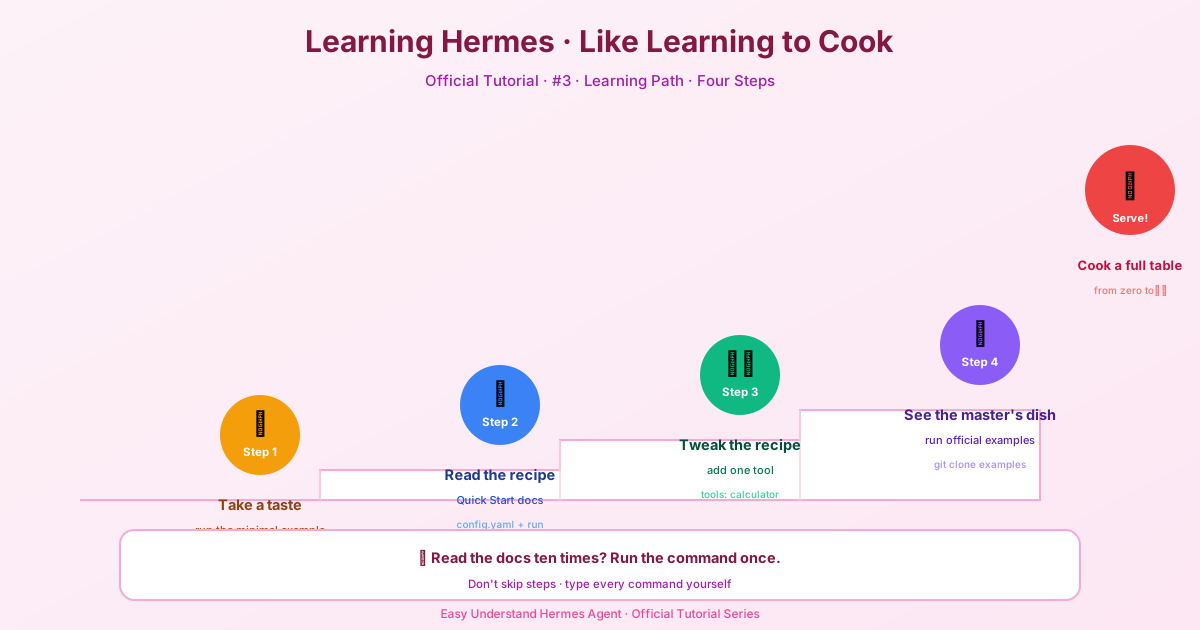
Step 1: Start Here (Beginner — ~1 hour)
If you haven’t installed Hermes Agent yet, stop reading and do that first. Run these two commands in your terminal:
# Install Hermes Agent
pip install hermes-agent

# Set up your first provider (one command covers everything!)
hermes setup --portal
The --portal flag is a magic shortcut. It gives you one login that unlocks the AI model plus four built-in tools: web search, image generation, text-to-speech, and a browser. You don’t need to set up five different accounts — just one.
After that, follow this reading order:
- Quickstart — get your first conversation going
- CLI Usage — learn how to talk to Hermes in your terminal
- Configuration — tweak settings to match your preferences
By the end of this step, you’ll have a working AI assistant that can answer questions and run simple commands.
Step 2: Level Up (Intermediate — ~2–3 hours)
Now that you’re comfortable with the basics, it’s time to make Hermes work for you. This is where things get fun.
- Sessions — learn how Hermes remembers context across conversations
- Messaging — connect Hermes to Telegram or Discord so you can chat from your phone
- Tools — discover all the built-in capabilities (search, image, browser, and more)
- Skills — teach Hermes new tricks by creating reusable skill packages
- Memory — let Hermes remember facts about you and your projects over time
- Cron — schedule tasks to run automatically, like a daily morning briefing
The key command here is:
# Start a new session with a specific skill loaded
hermes --skill my-custom-skill
This is also the stage where you’ll want to set up your messaging bots. The docs have complete walkthroughs for both Telegram and Discord, plus example projects like a daily briefing bot that sends you the news every morning.
Step 3: Go Deep (Advanced — ~4–6 hours)
This is where you become a power user. You’re not just using Hermes anymore — you’re extending it.
- Architecture — understand how Hermes is built under the hood
- Adding Tools — write your own Python functions that Hermes can call
- Creating Skills — package your custom tools and prompts into shareable skills
- Contributing — submit your improvements back to the open-source project
A simple custom tool looks like this:
from hermes import tool

@tool
def get_weather(city: str) -> str:
    """Get current weather for a city."""
    # Your code here
    return f"Weather in {city}: sunny, 72°F"
Once you write this, Hermes can automatically call your function when someone asks about the weather. No complex integration needed.
Your Personal Roadmap
Here’s the honest truth: you don’t need to read everything. Pick your goal:
- Just want a terminal assistant? Do Step 1 and stop.
- Want a Telegram bot? Do Step 1 + Step 2 (Messaging + Voice sections).
- Want to automate your life? Do Step 1 + Step 2 (Cron + Memory sections).
- Want to build something new? Do all three steps.
The docs are organized so you can skip around. The table on the official page even gives you time estimates — most people finish Step 1 in under an hour.
Summary
Think of this learning path like learning to cook: first you learn to boil water (Step 1), then you follow recipes (Step 2), and finally you invent your own dishes (Step 3). Start small, build confidence, and expand when you’re ready.
Next up: In Tutorial 4, we’ll keep Hermes up to date — updating and uninstalling cleanly, with a built-in safety net.
📖 Official Docs
This article is based on the official Hermes Agent documentation:GitHub ›/tree/main/.plans