Your First AI Conversation in 5 Minutes
Tutorial 2: Your First AI Conversation in 5 Minutes — easy-to-understand guide based on official docs
Your First AI Conversation in 5 Minutes
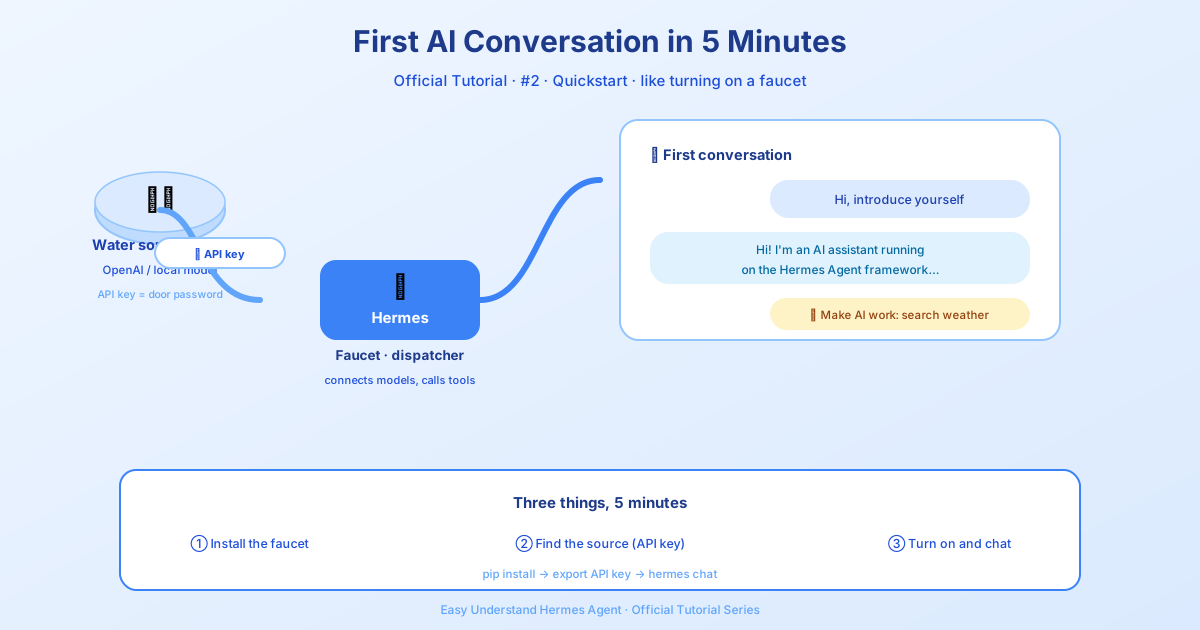
Welcome back to our Hermes Agent series! In the last post, we talked about why Hermes is the AI agent you’ve been waiting for. Now it’s time to get our hands dirty. This guide will take you from zero to a working Hermes setup—and your first real AI conversation—in about five minutes.
Who This Is For
This quickstart is perfect if:
- You’re brand new and want the shortest path to a working setup
- You’re switching providers and don’t want to waste time on config mistakes
- You’re setting up Hermes for a team, bot, or always-on workflow
- You’re tired of tools that “install fine” but then do absolutely nothing
The Fastest Path
Before we dive in, here’s a quick cheat sheet. Pick the row that matches your goal:
| Goal | Do this first | Then do this |
|---|---|---|
| I just want Hermes working | hermes setup |
Run a real chat and verify it responds |
| I already know my provider | hermes model |
Save the config, then start chatting |
| I want a bot or always-on setup | hermes gateway setup after CLI works |
Connect Telegram, Discord, Slack, or another platform |
| I want a local or self-hosted model | hermes model → custom endpoint |
Verify the endpoint, model name, and context length |
| I want multi-provider fallback | hermes model first |
Add routing and fallback only after the base chat works |
Rule of thumb: if Hermes cannot complete a normal chat, do not add more features yet. Get one clean conversation working first, then layer on gateway, cron, skills, voice, or routing.
Step 1: Install Hermes Agent
The easiest way on macOS or Windows is to grab the Hermes Desktop installer from our website. It installs both the command-line and desktop apps in one go.
Prefer the command line only? No problem. Here’s what to run:
Linux / macOS / WSL2 / Android (Termux)
curl -fsSL https://hermes-agent.nousresearch.com/install.sh | bashWindows (native)
Run this in PowerShell:
iex (irm https://hermes-agent.nousresearch.com/install.ps1)After it finishes, reload your shell:
source ~/.bashrc # or source ~/.zshrcAndroid / Termux tip: Installing on a phone? Check out the dedicated Termux guide for the tested manual path and Android-specific limitations.
Step 2: Choose a Provider
This is the single most important setup step. Run this command to walk through the choice interactively:
hermes modelThe easiest path: Nous Portal. One subscription covers 300+ models plus the Tool Gateway (web search, image generation, TTS, cloud browser). On a fresh install, just run:
hermes setup --portalThat logs you in, sets Nous as your provider, and turns on the Tool Gateway in one command. No API keys needed.
Understanding Setup Modes
On a fresh install, hermes setup offers three modes:
- Quick Setup (Nous Portal) — free OAuth login, no API keys; sets up a model plus the Tool Gateway tools. This is the recommended fast path.
- Full Setup — walk through every provider, tool, and option yourself (bring your own keys).
- Blank Slate — everything starts off except the bare minimum: provider & model, the File Operations toolset, and the Terminal toolset. No web, browser, code execution, vision, memory, delegation, cron, skills, plugins, or MCP servers. Pick this when you want a minimal, fully-controlled agent and intend to enable only exactly what you need.
Blank Slate writes an explicit platform_toolsets.cli list plus agent.disabled_toolsets, so nothing you didn’t choose ever loads—not even after hermes update. Re-enable anything later with hermes tools, seed skills with hermes skills opt-in --sync, or tune settings with hermes setup agent.
Good Default Providers
Here’s a quick reference for popular providers:
| Provider | What it is | How to set up |
|---|---|---|
| Nous Portal | Subscription-based, zero-config | OAuth login via hermes model |
| OpenAI Codex | ChatGPT or Codex subscription | Device code auth via hermes model |
| Anthropic | Claude models directly | OAuth login (requires Max + extra credits) or API key |
| OpenRouter | Multi-provider routing | Enter your API key |
| Fireworks AI | Direct OpenAI-compatible API | Set FIREWORKS_API_KEY |
| Z.AI | GLM / Zhipu-hosted models | Set GLM_API_KEY / ZAI_API_KEY |
| Kimi / Moonshot | Moonshot-hosted coding models | Set KIMI_API_KEY |
Your First Conversation
Once your provider is set, just type:
hermesAsk it anything. “What’s the weather today?” or “Write a haiku about robots.” If you get a response, congratulations—you’re officially chatting with Hermes!
What If Something Breaks?
Remember the rule of thumb: if Hermes cannot complete a normal chat, do not add more features yet. Get one clean conversation working first. Then you can layer on gateway, cron, skills, voice, or routing.
Want to Watch Instead?
The Onchain AI Garage team put together a Masterclass walkthrough of installation, setup, and basic commands. It’s a great companion if you’d rather follow along on video. Check out the full Hermes Agent Tutorials & Use Cases playlist.
What’s Next?
In the next post, we’ll explore the Tool Gateway and how to give your agent superpowers like web search and image generation. Stay tuned!
📖 Official Docs
This article is based on the official Hermes Agent documentation:Official docs › getting-started/quickstart