Welcome to the Easiest Install You'll Ever Do
Tutorial 1: Installing Hermes — Easier Than You Think — easy-to-understand guide based on official docs
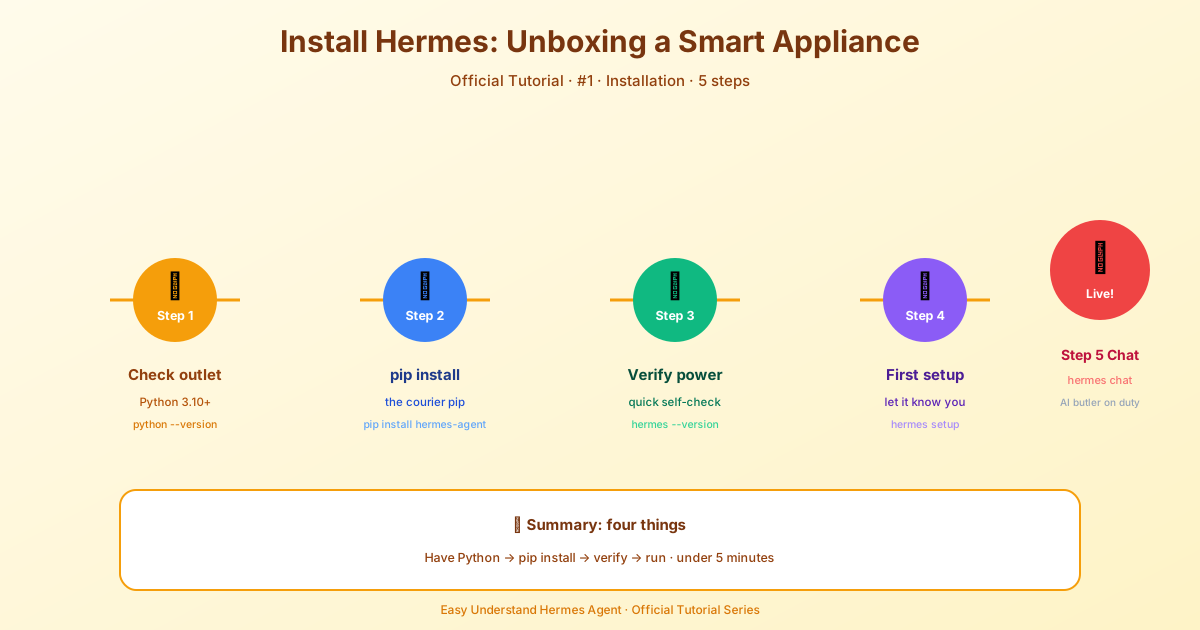
Welcome to the Easiest Install You’ll Ever Do
If you’ve been putting off trying Hermes Agent because you’re worried about a painful setup, stop right there. The new installer does almost everything for you. In fact, if you can copy and paste a single command, you’re about two minutes away from chatting with your new AI assistant.
Let’s walk through the whole thing, step by step.
The Absolute Fastest Way: Hermes Desktop
If you’re on macOS or Windows, the easiest route is to grab the Hermes Desktop installer from our website. Download it, run it, and you’re done. It installs both the desktop app and the command-line tool, so you get the best of both worlds.
One thing to know: the macOS installer is Apple Silicon only. Intel Macs aren’t a supported platform.
Command-Line Only? One Line Does It
Prefer to stay in the terminal? No problem.
On Linux, macOS, WSL2, or Android (Termux):
curl -fsSL https://hermes-agent.nousresearch.com/install.sh | bashOn native Windows (PowerShell):
iex (irm https://hermes-agent.nousresearch.com/install.ps1)That’s it. Seriously. If you change your mind later and want the desktop app too, just run:
hermes desktopWhat the Installer Does for You
Here’s the part that used to be a headache: dependencies. The installer now handles everything automatically. You don’t need to manually install Python, Node.js, ripgrep, or ffmpeg. It detects what’s missing, installs it, clones the repo, sets up a virtual environment, wires up the global hermes command, and even helps with your LLM provider configuration.
By the time it finishes, you’re ready to chat.
Where Everything Goes
Depending on whether you install as a normal user or as root, the files land in different places:
| Installer | Code lives at | hermes binary |
Data directory |
|---|---|---|---|
| Per-user | ~/.hermes/hermes-agent/ |
~/.local/bin/hermes |
~/.hermes/ |
Root-mode (sudo curl … | sudo bash) |
/usr/local/lib/hermes-agent/ |
/usr/local/bin/hermes |
/root/.hermes/ (or $HERMES_HOME) |
The root-mode layout is great for shared machines where one system-wide install should serve everyone. Your personal config (auth, skills, sessions) still lives safely under your own home directory.
After Installation: Start Chatting
Once the installer finishes, reload your shell and go:
source ~/.bashrc   # or: source ~/.zshrc
hermes             # Start chatting!
Tweak Things Later (Without Reinstalling)
Want to change your model, enable different tools, or connect a messaging platform? There are dedicated commands for that:
hermes model          # Choose your LLM provider and model
hermes tools          # Configure which tools are enabled
hermes gateway setup  # Set up messaging platforms
hermes config set     # Set individual config values
hermes config get     # Inspect individual config values
hermes setup          # Or run the full setup wizard
The Fastest Path: Nous Portal
Here’s a pro tip. Instead of juggling API keys for every single tool, use the Nous Portal. One subscription covers 300+ models plus the Tool Gateway (web search, image generation, TTS, cloud browser). To set it all up in one shot:
hermes setup --portalThat logs you in, sets Nous as your provider, and turns on the Tool Gateway. Done.
Moving From Another Machine?
Don’t rebuild everything from scratch. Use hermes import to restore a full backup, or hermes profile import to bring over a single agent. Just remember: a profile export doesn’t include credentials by design, so for a true backup, use hermes backup.
What You Need Beforehand (Almost Nothing)
On non-Windows platforms, the only real prerequisite is Git. On Linux, make sure curl and xz-utils are available (the installer downloads Node.js as a .tar.xz archive). For the desktop app, you’ll also need g++ (or build-essential on Debian/Ubuntu).
That’s it. No manual Python, no manual Node.js, no manual anything. The installer handles it all.
A Note for Nix Users
Nix is no longer an explicitly supported install path (best-effort only). If you’re already using Nix, there’s a dedicated setup guide with a flake and NixOS module. Check the Nix & NixOS Setup guide for details.
Symlinked Home Directories and External Storage
Hermes supports a symlinked HERMES_HOME and symlinked home subdirectories, including hooks, skills, sessions, and logs. During home initialization, existing directory links are preserved, and permissions on linked directories (and descendants such as logs/curator) are left to their owner.
If a link target is missing, inaccessible, or not a directory, initialization stops with a storage error naming the path and link target. Hermes does not replace the link or create its missing target: doing so could write data onto the local disk while an external or NAS volume is unmounted. Check the reported link, restore the mount or correct its target, and verify access permissions before retrying. For a deliberately new dotfiles target, create it yourself only after confirming the intended storage is available.
hermes doctor reports these failures as storage problems, not invalid YAML. Keep your existing config.yaml; running hermes setup is not the repair for an unavailable directory. This is a directory-availability check, not a mount monitor: an existing directory cannot establish that the intended volume is mounted.
Wrapping Up
That’s the whole story. One command, a couple of minutes, and you’re chatting with Hermes. No more dependency hell, no more manual configuration. Go give it a try — you’ll be glad you did.
Keep reading: Hermes on NixOS — On a declarative system? See Hermes on NixOS for the flake input and the NixOS module.
📖 Official Docs
This article is based on the official Hermes Agent documentation:Official docs › getting-started/installation