Welcome to Your Agent's Home Base: `~/.hermes/`
Tutorial 7: Configuration Files — easy-to-understand guide based on official docs
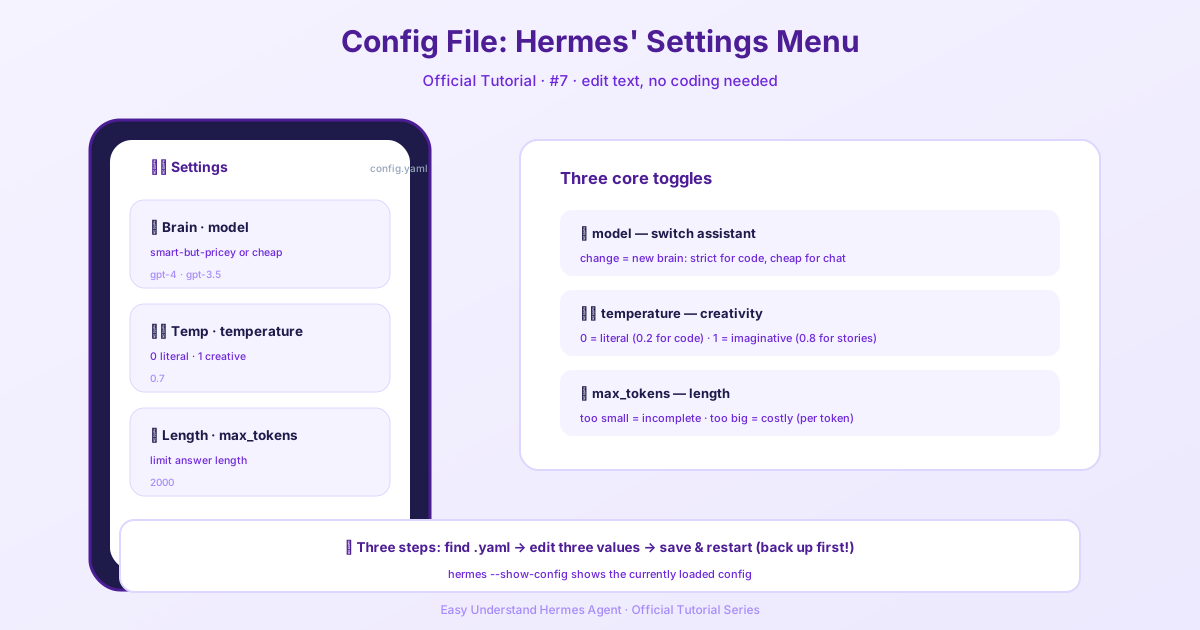
Welcome to Your Agent’s Home Base: ~/.hermes/
If you’ve been following along with our tutorial series, you already know Hermes Agent is powerful. But with great power comes great configuration, right? Not anymore. Let’s look at how Hermes keeps everything tidy in one place — and how you can get started in minutes, not hours.
The Magic of ~/.hermes/
All your Hermes settings live in a single directory: ~/.hermes/. Think of it as your agent’s command center. Here’s what you’ll find inside:
~/.hermes/
├── config.yaml     # Main settings (model, terminal, TTS, etc.)
├── .env            # API keys and secrets
├── auth.json       # OAuth credentials (Nous Portal, etc.)
├── SOUL.md         # Your agent's personality
├── memories/       # Persistent memory files
├── skills/         # Agent-created skills
├── cron/           # Scheduled jobs
├── sessions/       # Gateway sessions
└── logs/           # Logs (secrets auto-redacted)
The Fastest Path: hermes setup --portal
Before we dive into manual configuration, here’s a pro tip: run hermes setup --portal. One OAuth login gets you a model provider and all four Tool Gateway tools — no YAML editing required. Portal subscribers even get 10% off token-billed providers. It’s the easiest way to go from zero to fully operational.
Managing Your Configuration
The hermes config command is your best friend. Here are the essential commands:
hermes config              # View current configuration
hermes config edit         # Open config.yaml in your editor
hermes config get KEY      # Print a resolved value
hermes config set KEY VAL  # Set a specific value
hermes config unset KEY    # Remove a value
hermes config check        # Check for missing options
hermes config migrate      # Add missing options interactively
Real-world examples:
hermes config get model
hermes config set model anthropic/claude-opus-4
hermes config set terminal.backend docker
hermes config set OPENROUTER_API_KEY sk-or-...
Notice something clever? The set command automatically routes values to the right file. Any UPPER_SNAKE name — OPENROUTER_API_KEY, DISCORD_HOME_CHANNEL, HERMES_TIMEZONE, and friends — is treated as an environment variable and saved to .env, never to config.yaml. Dotted settings like model or terminal.backend go to config.yaml. A few reserved names (HERMES_YOLO_MODE, PATH, …) are refused for safety, and if you write a known key under the wrong prefix you’ll get a did-you-mean hint — add --force if you really mean it. hermes config get on a path Hermes may not read prints the value plus a warning, so a leftover key can’t quietly pass for a live setting.
Understanding Configuration Precedence
When multiple sources define a setting, Hermes follows this order (highest priority first):
- CLI arguments — e.g.,
hermes chat --model anthropic/claude-sonnet-4 ~/.hermes/config.yaml— your primary config file~/.hermes/.env— for secrets and fallback env vars- Built-in defaults — safe defaults when nothing else is set
Rule of thumb: Secrets (API keys, tokens, passwords) go in .env. Everything else (model, terminal backend, compression settings) goes in config.yaml. When both are set, config.yaml wins for non-secret settings.
Environment Variable Substitution
Here’s a powerful feature: you can reference environment variables directly in config.yaml using ${VAR_NAME} syntax:
auxiliary:
  vision:
    api_key: ${GOOGLE_API_KEY}
    base_url: ${CUSTOM_VISION_URL}
You can even combine multiple references: url: "${HOST}:${PORT}". If a variable isn’t set, the placeholder stays as-is (with a warning logged). Cursor-style syntax like ${env:VAR_NAME} also works, so snippets copied from other tools work unchanged. Note that other SecretRef sources (${file:...}, ${vault:...}, ${bitwarden:...}) are not resolved inline — external secret backends inject their values into the environment at startup via the secrets: block, so reference them as ${env:NAME} instead. Under a multiplexed multi-profile gateway, references in a profile’s config.yaml resolve against that profile’s .env, not the shared process environment.
Fine-Tuning Performance
Two new sections worth knowing about:
Runtime Limits — For long-running servers, you can set file descriptor limits:
runtime:
  nofile_soft_limit: 4096
The default is 4096. Hermes clamps the target to your OS hard limit and never lowers a process that already has a higher soft limit. Set it to 0, false, or null to disable the adjustment.
Database Settings — Control how Hermes handles its SQLite database:
database:
  journal_mode: wal        # or "delete" for network mounts
  # synchronous: FULL      # durability level
  # wal_autocheckpoint: 1000
  # journal_size_limit: 67108864
Use delete on filesystems where WAL is unsafe, like network mounts. On virtiofs/9p bind mounts (Docker Desktop, Podman on macOS, OrbStack), Hermes detects the mount and creates fresh databases in delete mode automatically. Note that an existing WAL database is never live-downgraded — Hermes keeps WAL and logs an error telling you the configured delete did not apply. To convert an existing database, stop every process using it and run a one-time offline PRAGMA journal_mode=DELETE on the file. hermes doctor warns you until then, and names the processes currently holding the database so you know what to stop.
Wrapping Up
Configuration doesn’t have to be scary. With hermes config set handling the routing automatically, and hermes setup --portal offering a zero-config path, you can focus on building, not configuring. Start with the defaults, tweak as you go, and remember: hermes config check is there to catch anything you might have missed after updates.
Happy configuring!
📖 Official Docs
This article is based on the official Hermes Agent documentation:Official docs › user-guide/configuration