Tutorial 6: TUI — A Better Terminal Experience
Tutorial 6: TUI — A Better Terminal Experience — easy-to-understand guide based on official docs
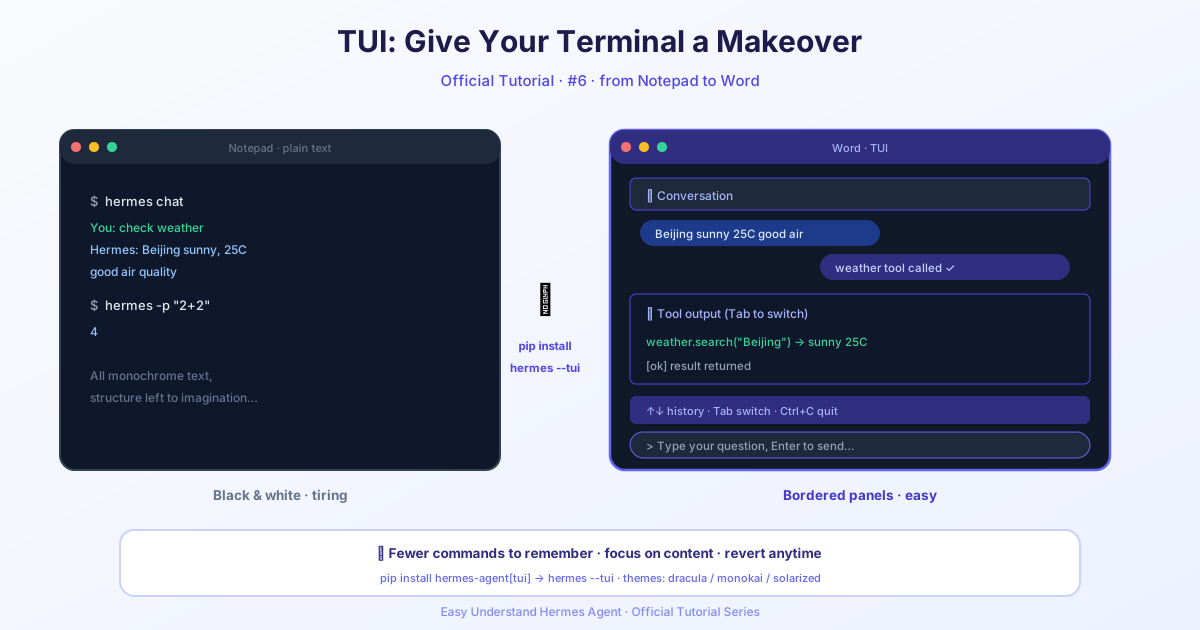
Tutorial 6: TUI — A Better Terminal Experience
Welcome back to our Hermes Agent tutorial series! So far, we’ve been living in the classic command-line interface (CLI). It’s powerful, but let’s be honest — it can feel a bit cramped. Today, we’re upgrading your terminal game with the TUI (Text User Interface). Think of it as the CLI’s cooler, more polished sibling.
What is the TUI?
The TUI is Hermes’s modern front-end. It’s not a separate tool — it’s the same agent, same sessions, and same slash commands you already know, but wrapped in a cleaner, more responsive interface. The best part? It’s now the recommended way to run Hermes interactively.
Launching the TUI
Getting started is easy. The most straightforward way is:
hermes --tuiBut the TUI really shines with its session management. Here are some handy ways to jump back into your work:
# Resume your latest session (works with classic CLI sessions too!)
hermes --tui -c

# Resume a specific session by ID or title
hermes --tui -r 20260409_000000_aa11bb
hermes --tui --resume "my t0p session"

# Resume the latest session for a specific project
hermes --tui --resume latest --in ./my-project
You can also make the TUI your default. Just set an environment variable:
export HERMES_TUI=1
hermes  # now launches the TUI
Or make it permanent in your ~/.hermes/config.yaml:
display:
  interface: tui   # "cli" (default) or "tui"
Don’t worry — the classic CLI is still there. You can always drop back with hermes --cli.
Why You’ll Love the TUI
The TUI isn’t just a prettier face. It brings real improvements:
- Instant first frame — The banner appears before the app finishes loading, so the terminal never feels frozen.
- Non-blocking input — Type and queue messages before the session is ready. Your first prompt sends the moment the agent comes online.
- Rich overlays — Model picker, session picker, and approval prompts render as clean modal panels instead of cluttered inline flows.
- Live session panel — Watch tools and skills fill in progressively as they initialize.
- Mouse-friendly selection — Drag to highlight text with a uniform background. Copy with your terminal’s normal gesture.
- No flicker, no clutter — Alternate-screen rendering means smooth streaming and a clean scrollback after you quit.
- Smart paste — Long snippets collapse inline, and
Cmd+V/Ctrl+Vhandles text, clipboard images, and file paths intelligently.
Collapsible Banner Sections
The startup banner now groups runtime info into four sections, each with a ▸ / ▾ chevron to toggle:
| Section | Default state |
|---|---|
| Tools | Open |
| Skills | Collapsed |
| System Prompt | Collapsed |
| MCP Servers | Collapsed |
The Tools list opens by default since it’s the most-checked section. The others stay collapsed to keep the banner compact — even if you’ve installed dozens of skills. Click any section header to expand or collapse it.
Keybindings & Slash Commands
Good news: all your classic CLI keybindings work exactly the same. A few notable TUI upgrades:
Ctrl+T— Expands the automatic live-subagent dock into the full-height/agentsroster. Pick a worker and pressEnter(ort) for its live transcript,dfor details,eto steer, orxto stop it. The dock fits its row count to your terminal height and keeps your composer draft.F7— Toggles the live dock between its default preview and a single summary line. This lasts for the current TUI process only.Ctrl+X— Opens the live session switcher. If a queued message is highlighted, it deletes that message instead;Esccancels without deleting.Ctrl+G(orCtrl+X Ctrl+E) — Opens your current input in$EDITORfor long-prompt composition.- Slash autocompletion — Now opens as a floating panel with descriptions.
All slash commands work unchanged. The /help command even renders as a categorized overlay.
If the Connection Drops
The TUI can recover from a lost backend without losing your place:
- Spawned gateway (default): if the gateway process dies mid-session, the TUI tells you it’s restarting and reopening your chat, respawns it (a few attempts per minute), and reopens the same saved session. A reply that was in flight is lost with the process.
- Attached gateway (dashboard chat): if only the WebSocket drops, the TUI reconnects with growing backoff and reattaches to the same session — even a reply still streaming on the backend. Nothing is resubmitted.
Requirements
The TUI needs Node.js ≥ 20 (it runs as a subprocess). hermes doctor will verify this. On first launch, Hermes installs the TUI’s Node dependencies automatically — it takes a few seconds, then subsequent launches are fast.
Final Thoughts
The TUI gives you the power of Hermes with a modern, responsive interface. Whether you’re managing multiple sessions, pasting complex prompts, or just want a cleaner terminal experience, it’s a massive upgrade. Try hermes --tui today — your terminal will thank you.
Stay tuned for the next tutorial in our series!
Official interface screenshots

Keep reading: Hermes Agent wallpapers and skins — Not sold on the default look? Browse the Hermes Agent wallpapers and skins instead of a bare terminal.
📖 Official Docs
This article is based on the official Hermes Agent documentation:Official docs › user-guide/tui