Tutorial 5: Command Line Basics
Tutorial 5: Command Line Basics — easy-to-understand guide based on official docs
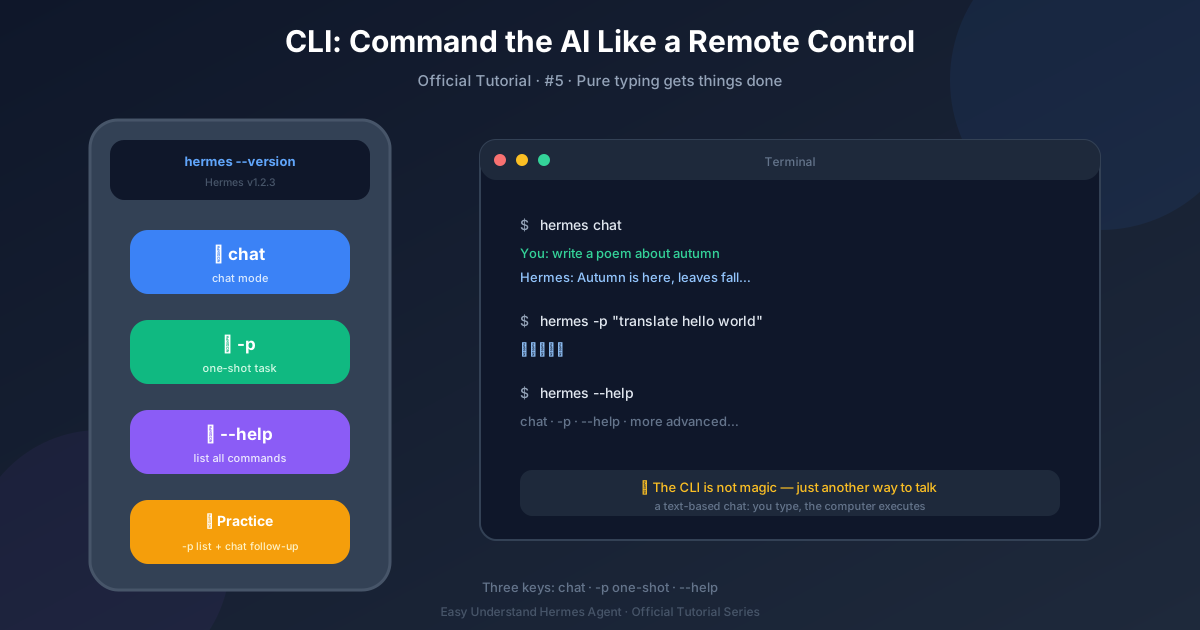
Tutorial 5: Command Line Basics
Welcome back! In the last tutorial, we got Hermes installed and had our first chat. Now it’s time to level up. The real power of Hermes lives in your terminal. This tutorial walks you through the essential commands you’ll use every day.
Think of hermes as your command center. Every command follows the same pattern:
hermes [global-options] <command> [subcommand/options]
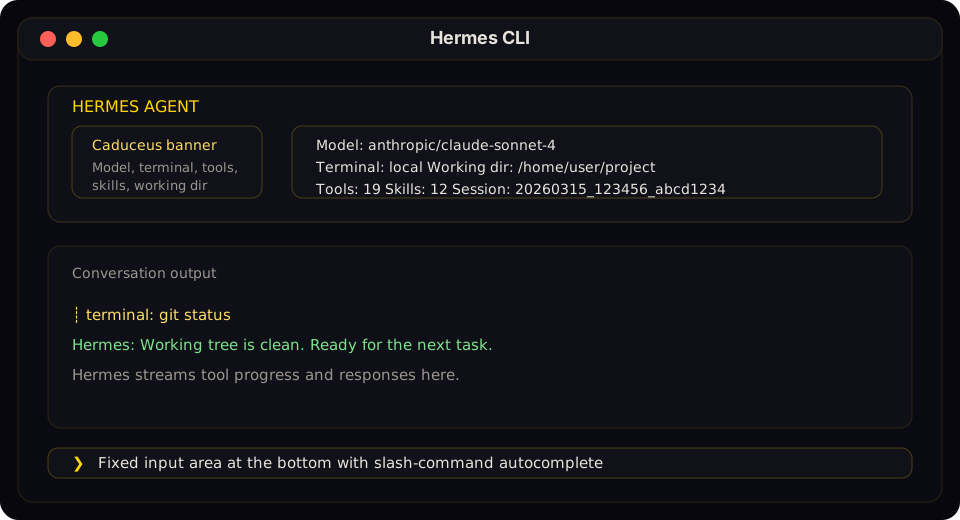Your Daily Drivers
The first commands you’ll want to memorize are the ones for starting and resuming conversations:
hermes chat— Start an interactive chat session. This is your bread and butter.hermes -r latest— Resume your most recent session. Picking up where you left off is as simple as that.hermes -c "my project"— Resume the most recent session matching a title. Perfect when you’re juggling multiple projects.hermes -r <session-id>— Resume a specific session by its ID.
Want to start fresh in a different folder? Use hermes --in <dir> to change directories before starting. It also scopes your session lookups to that folder’s workspace.
Global Options Worth Knowing
Some options change how Hermes behaves entirely. Here are the ones you’ll actually use:
--yolo— Bypass dangerous-command approval prompts. Use with caution, but it’s great for trusted environments.--profile <name>or-p <name>— Switch between different Hermes profiles. Great for separating work and personal setups.--tui— Launch the fancy Terminal User Interface instead of the classic CLI. If you prefer a more visual experience, this is for you.--cli— Force the classic prompt_toolkit REPL for a single run, even if your config defaults to the TUI.--worktreeor-w— Start in an isolated git worktree. Perfect for running multiple agents in parallel without conflicts.--ignore-rules— Skip auto-injection ofAGENTS.md,SOUL.md, and other rule files. Useful when you want a clean slate.
Managing Your Setup
A few commands keep your configuration healthy:
hermes setup— Run the interactive setup wizard. Great for first-time configuration or adding new features.hermes doctor— Diagnose config and dependency issues. Run this when something feels off.hermes migrate— Automatically rewrite yourconfig.yamlto replace retired models or deprecated settings.hermes config— Show, edit, and query your configuration files.hermes status— See your agent, auth, and platform status at a glance.hermes usage— Show your account’s rate-limit windows without starting a session. Add--jsonif a script needs to read it.
Authentication and Credentials
Managing API keys and credentials is handled through:
hermes auth— Add, list, remove, and manage credentials. Handles OAuth flows for Codex, Nous, and Anthropic.hermes secrets— Manage external secret sources like Bitwarden Secrets Manager.
Note: The old hermes login and hermes logout commands are now deprecated. Use hermes auth instead.
Beyond Chat
Hermes isn’t just about chatting. These commands extend its reach:
hermes send— Send a one-shot message to Telegram, Discord, Slack, or other platforms. No agent loop, no LLM. Perfect for shell scripts and cron jobs.hermes cron— Inspect and tick the cron scheduler for scheduled tasks.hermes pause/hermes resume— A global emergency stop. While paused, no new cron jobs, kanban dispatches, or gateway turns start; work already in flight keeps running.hermes webhook— Manage dynamic webhook subscriptions for event-driven activation.hermes kanban— A multi-profile collaboration board for tasks and links.hermes project— Manage named, multi-folder workspaces. Great for organizing complex projects.hermes codex-runtime— The scriptable version of/codex-runtime. Itsmigratesubcommand regenerates the Hermes-managed block in~/.codex/config.tomlfor the selected profile; add--dry-runto preview or--jsonfor machine-readable output.
Maintenance and Debugging
When things go wrong (or you just want to keep things tidy):
hermes logs— View, tail, and filter log files.hermes backup— Back up your entire Hermes home directory to a zip file.hermes import— Restore from a backup.hermes checkpoints— Inspect or prune the shadow store used by/rollback.hermes debug— Upload logs and system info for support.hermes dump— Get a copy-pasteable setup summary for debugging.hermes security audit— Run an on-demand supply-chain audit.
Pro Tips
- Use
hermes --versionto check your current version before reporting issues. - Run
hermes doctorafter updating to catch configuration problems early. - Explore
hermes modelto interactively choose your default provider and model. - Check
hermes prompt-sizeto see the byte breakdown of your system prompt — useful for optimizing context usage. - Add
--format stream-jsonto ahermes chat -q "..."run when a script needs to consume progress as structured JSONL instead of scraping terminal output.
That’s the command-line tour! You now know enough to navigate Hermes like a pro. In the next tutorial, we’ll dive into slash commands you can use inside your chat sessions. See you there!
📖 Official Docs
This article is based on the official Hermes Agent documentation:Official docs › reference/cli-commands