Tutorial 10: Checkpoints — AI's Undo Button
Tutorial 10: Checkpoints — AI's Undo Button — easy-to-understand guide based on official docs
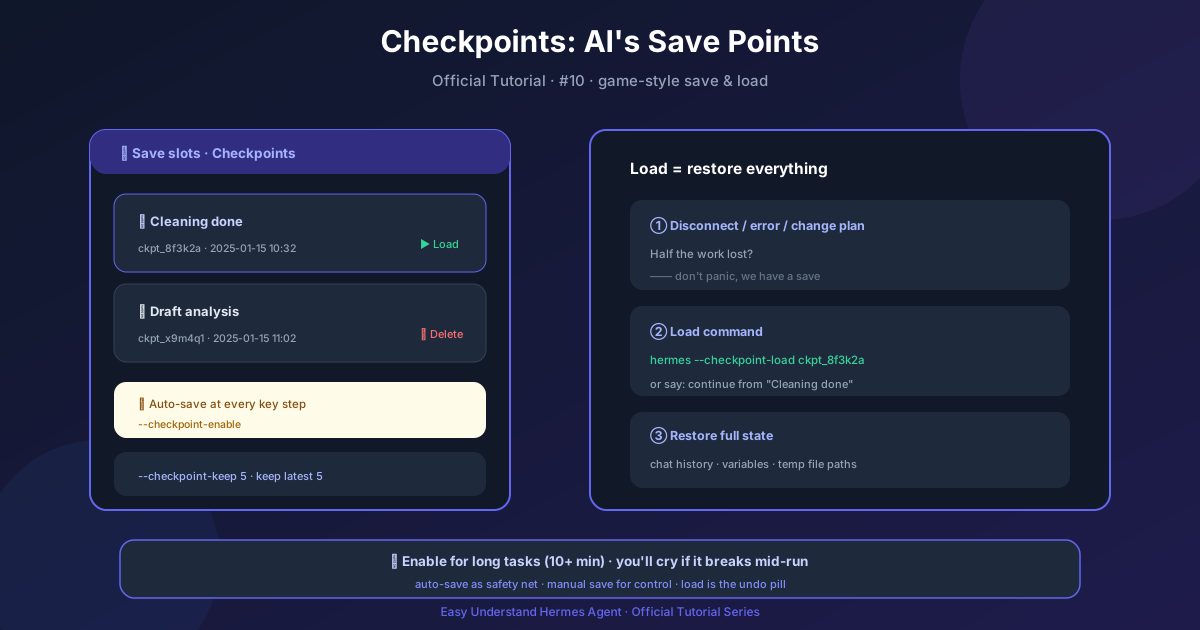
Tutorial 10: Checkpoints — AI’s Undo Button
Ever wish you could undo a mistake your AI assistant made? Maybe it deleted a file you needed, or overwrote a config you spent hours tweaking. Well, now you can — with Checkpoints.
Think of checkpoints like save points in a video game. Before your AI agent does something risky, it takes a snapshot of your project. If things go wrong, you can roll back to that snapshot with a single command. It’s your safety net.
Turning On Checkpoints
Here’s the thing: checkpoints are opt-in in Hermes Agent v2. That means they’re off by default. Why? Because the storage can grow over time, and most users never need to roll back. But if you want that peace of mind, enabling it is easy.
For a single session:
hermes chat --checkpointsOr enable it globally in ~/.hermes/config.yaml:
checkpoints:
  enabled: true
That’s it. Once enabled, Hermes automatically snapshots your project before any destructive operation.
What Triggers a Checkpoint?
Hermes is smart about when to take snapshots. It creates checkpoints automatically before:
- File tools — like
write_fileandpatch - Destructive terminal commands — like
rm,rmdir,cp,install,mv,sed -i,truncate,dd,shred, output redirects (>), and evengit reset,git clean, orgit checkout
And here’s a nice touch: it creates at most one checkpoint per directory per turn. So even if your agent runs 10 commands in one turn, you won’t get spammed with 10 snapshots. Just one clean checkpoint.
Using /rollback
The magic happens with the /rollback command. Here’s your quick reference:
| Command | What it does |
|---|---|
/rollback |
Lists all checkpoints with change stats |
/rollback <N> |
Restore to checkpoint N, keeping your hand-edits (also undoes the last chat turn) |
/rollback <N> --all |
Full restore — overwrites your hand-edits too |
/rollback diff <N> |
Preview what changed since checkpoint N |
/rollback <N> <file> |
Restore just one file from checkpoint N |
When you type /rollback, you’ll see something like:
📸 Checkpoints for /path/to/project:

  1. 4270a8c  2026-03-16 04:36  before patch  (1 file, +1/-0)
  2. eaf4c1f  2026-03-16 04:35  before write_file
  3. b3f9d2e  2026-03-16 04:34  before terminal: sed -i s/old/new/ config.py  (1 file, +1/-1)

  /rollback <N>             restore to checkpoint N (keeps your hand-edits)
  /rollback <N> --all       full restore, overwriting your hand-edits too
  /rollback diff <N>        preview changes since checkpoint N
  /rollback <N> <file>      restore a single file from checkpoint N
How It Works Under the Hood
You might be wondering: “Does this mess with my git history?” Nope! Hermes uses a shared shadow store at ~/.hermes/checkpoints/store/. Your real project .git is never touched.
All your projects share this one store. Because git uses content-addressable storage, files that appear in multiple projects are deduplicated automatically. Smart, right?
Managing the Store from the Shell
You can also inspect and manage checkpoints outside of a chat session:
hermes checkpoints              # Show total size and project breakdown
hermes checkpoints prune        # Clean up orphans and enforce size caps
hermes checkpoints clear        # Delete everything (asks first)
hermes checkpoints status and hermes checkpoints list do the same thing as the bare command. And if you migrated from v1, hermes checkpoints clear-legacy deletes only the old legacy-* archives.
Configuring Checkpoints
You have full control over how checkpoints behave. Here’s a sample config:
checkpoints:
  enabled: true
  max_snapshots: 20           # Max checkpoints per project
  max_total_size_mb: 500      # Hard cap on total store size
  max_file_size_mb: 10        # Skip files larger than this
  auto_prune: true            # Auto-clean old checkpoints
  retention_days: 7           # Keep checkpoints for 7 days
Auto-pruning runs in the background — the CLI sweeps on a helper thread right after launch, and the gateway does it on its housekeeping tick — so it never blocks your prompt or startup. It only removes projects untouched for retention_days, and it never deletes “orphan” entries (projects whose working directory can’t be found), since a missing directory might just be an unmounted drive or VPN. Orphan cleanup only happens when you run hermes checkpoints prune yourself, with a confirmation prompt.
A Note on Container Backends
If you’re using a container terminal backend (docker, singularity, modal, daytona, vercel_sandbox, or a container plugin), file paths live inside the sandbox rather than on your host. Hermes doesn’t take checkpoints or record the agent-write ledger for those paths, and /rollback will tell you so: it still lists existing host checkpoints but refuses diff and restore. Local and SSH backends are unaffected.
Your Safety Net
Checkpoints are like having an undo button for your AI agent’s actions. They’re off by default to keep things lean, but when you’re working on something important, enabling them gives you the confidence to let your agent experiment freely.
Try it out. Break something. Roll it back. That’s the beauty of having a safety net.
📖 Official Docs
This article is based on the official Hermes Agent documentation:Official docs › user-guide/checkpoints-and-rollback